


Embracing Individuality: The Whistle as an Emblem of Unconventional Musical Expression
Whatever you call it, the tin whistle, penny whistle, low or high whistle, it's an instrument that is about individuality, expression & authentic culture.
Whatever you call it, the tin whistle, penny whistle, low or high whistle, it's an instrument that is about individuality, expression & authentic culture.
Here we answer some of the questions commonly asked when new to whistle:
Reaching the fingerholes holes on a Low D whistle is not as difficult as you may think, irrespective of the size of your hands. But like any musical instrument, it requires practise.
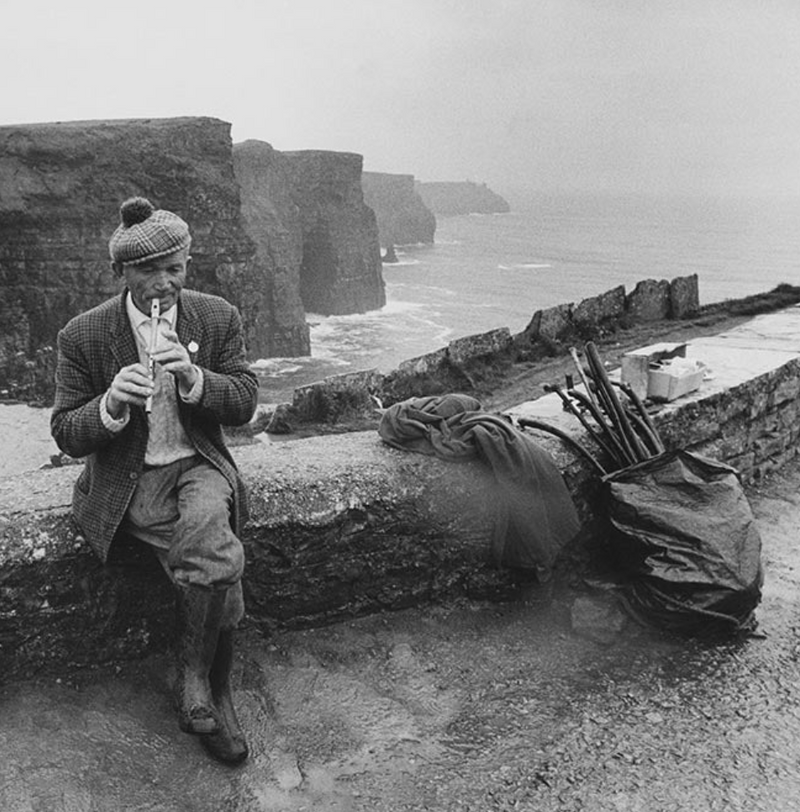
Playing tin whistle has always been about going your own way in life. The instrument of the travelers and vagabonds of this world - the people who go their own way. The black sheep taking their own route through cultures, across mountains, sea and desert....
The low whistle, often referred to as the Low D whistle, is a captivating instrument known for its hauntingly beautiful melodies and versatility. Whether you're a seasoned musician, inquisitive learner or a music enthusiast, understanding this unique instrument can open doors to a world of rich, emotive sounds.
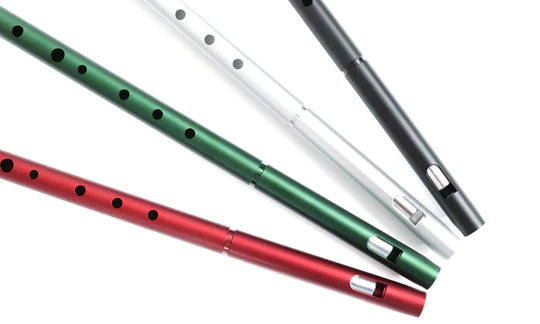
The Low D whistle is a member of the tin whistle family, which also includes the high whistle, often referred to as the penny whistle or tin whistle. These whistles vary in size, with the low whistle being significantly longer than its high-pitched counterpart. The distinctive deep tones of the Low D whistle make it a favorite among folk, Celtic, and traditional musicians.
One of the key features of Low Whistles is its warm, mellow timbre. This characteristic, coupled with its extended range, allows musicians to explore a wide variety of musical genres. While it shines in traditional Irish, and Celtic music, it's equally at home in folk, acoustic, and contemporary genres.
In Celtic music, the Low D whistle adds depth and soul to melodies, making it an essential instrument in many traditional Irish and Scottish compositions. Its melancholic notes can evoke a sense of nostalgia and longing that resonates deeply with listeners.

The stresses and strains of modern life can sometimes lead to a soulless existence. Listening, playing and creating music for many around the world is a tonic, adding colour and vibrancy that connects you to people, your culture, your soul and a way of life.
The new mk Midgie high D whistle is great for adults and children alike! Tuneful, colourful, affordable, humble and fun!
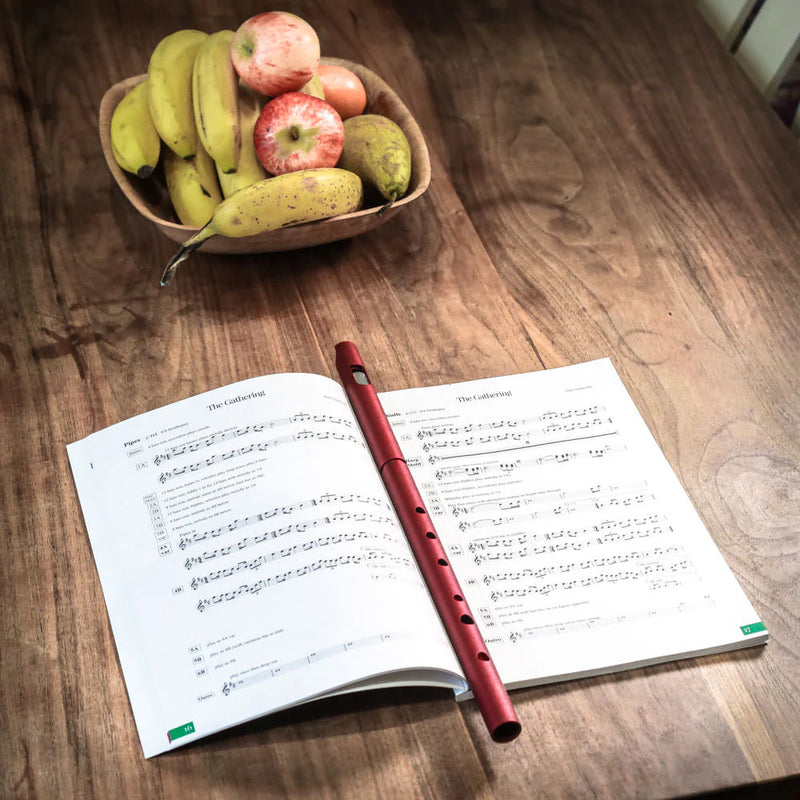
Take music with you anywhere you go.
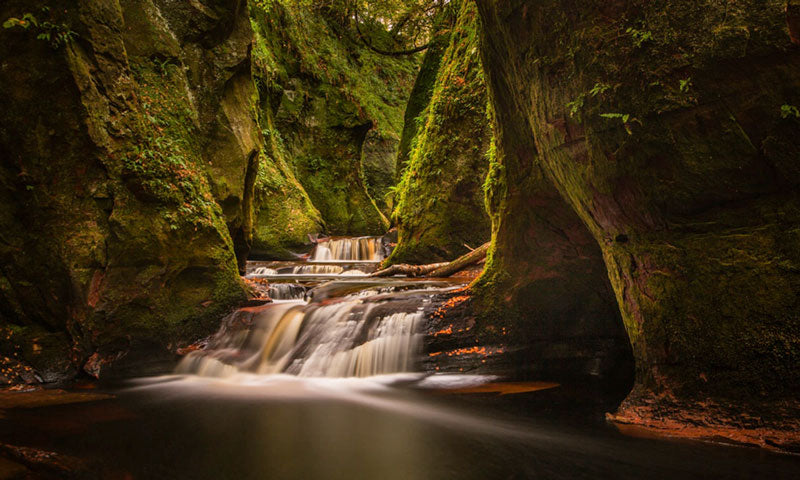
The mythical Kelpie - infamous in Scottish folklore. Enshrined with myth and superstition, the Kelpie is a water spirit that inhabits Scotland’s lochs and rivers as a shape-shifting creature that metamorphoses from human form into a powerful black horse with horns.
A Chromatic Whistle to take you on a bold & brilliant musical journey to new incredible places
Click here to read the design notes about the birth of the Chameleon
Outside the realm of traditional music, whistles have found their way into genres like folk-rock, fusion, jazz , hip-hop and pop. Musicians appreciate their ability to infuse a touch of ethereal allure into their compositions.
Whether you're drawn to the soul-stirring tunes of traditional Celtic music or you're exploring the instrument's potential in modern genres, playing a low whistle is a compelling choice. Its deep, evocative tones, or bright cheerfulness and remarkable adaptability ensure that it remains a cherished instrument in the ever-evolving world of music. So, if you're looking to explore new musical horizons or simply enjoy the soulful strains of playing the whistle, you're in for a harmonious journey through the world of sound.